PI-RADS Report Plugin User Manual
This user manual explains how to use the PI-RADS Report Plugin for OsiriX MD.
- Open the study in the 2D Viewer
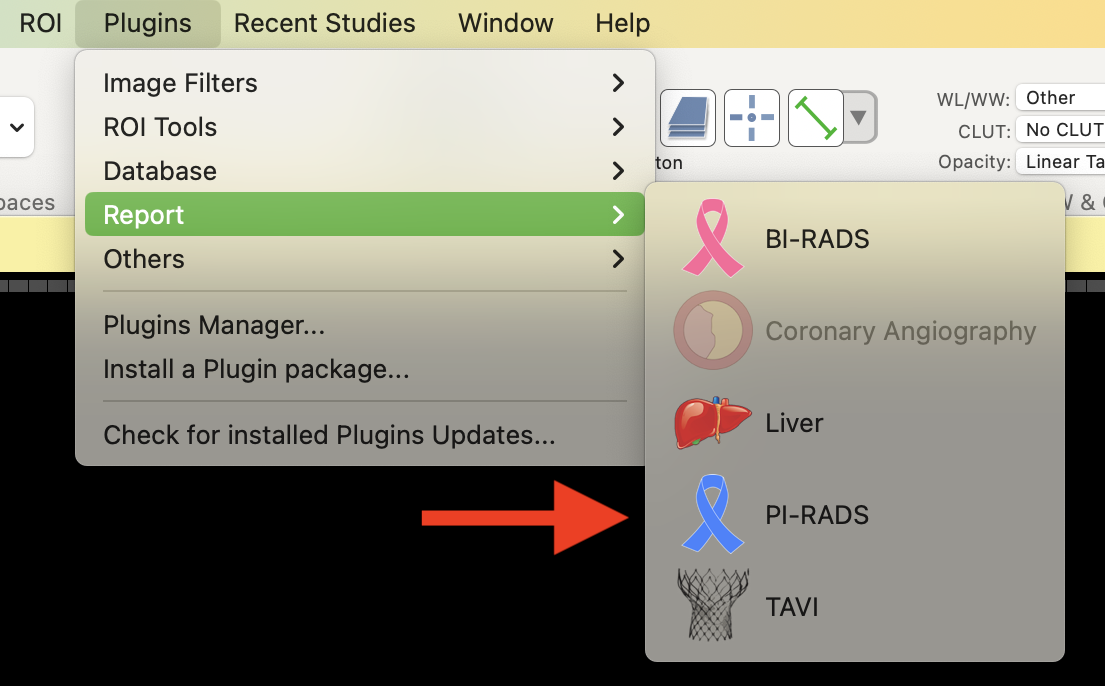
- Launch the plugin, located in the Plugins menu, in the Report submenu.
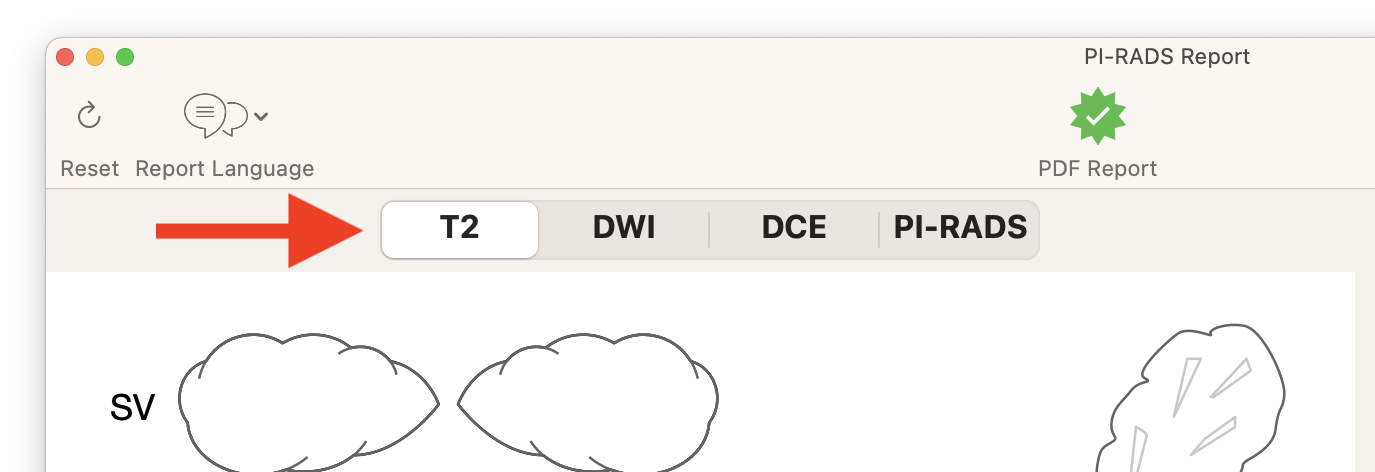
- Select the correct sequence from the segmented control on top of the diagram
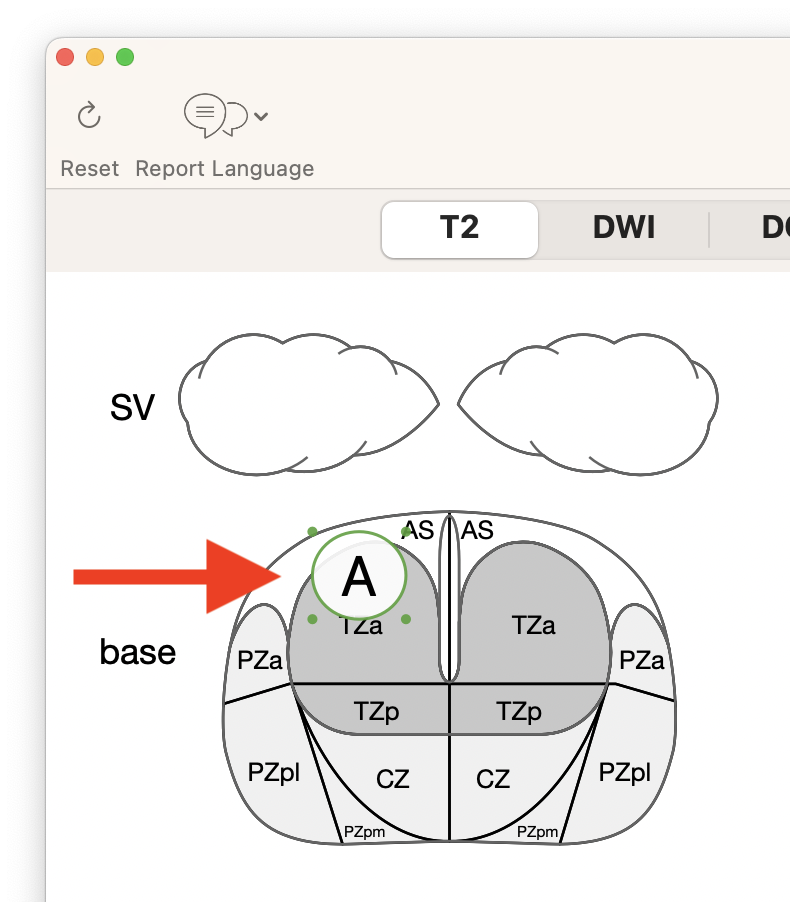
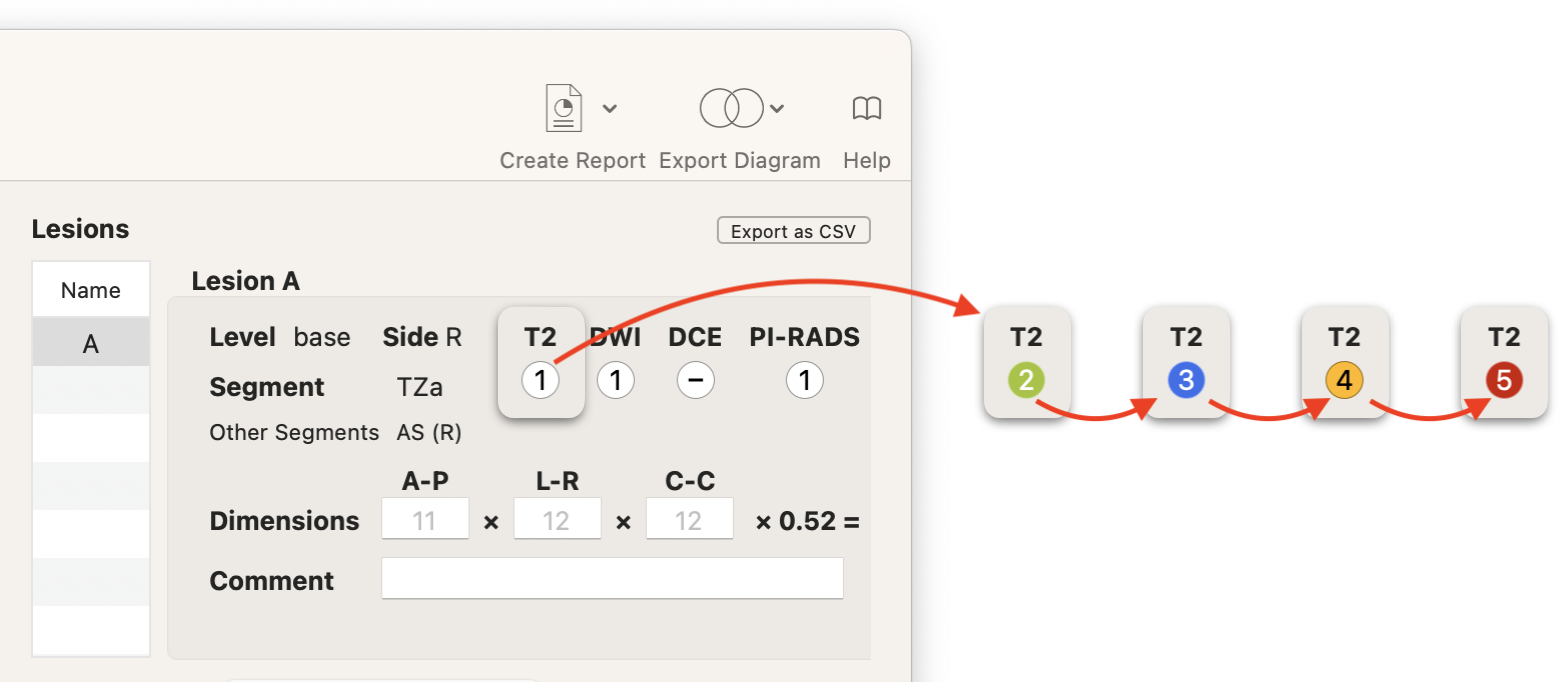
- Click on the diagram to signal a lesion and drag to modify its shape. The shape of the lesion can be adjusted later, using the anchor points located at each corner of the bounding box.
Clicking on the corresponding color disk on the Lesion detail view to increment the lesion score (past the maximal value, the lesion score will be set to the minimal value).
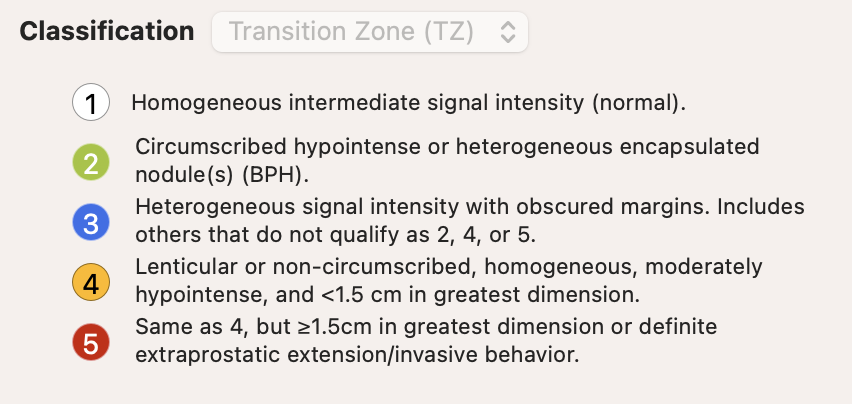
Score on T2 sequence has a 5 values scale:
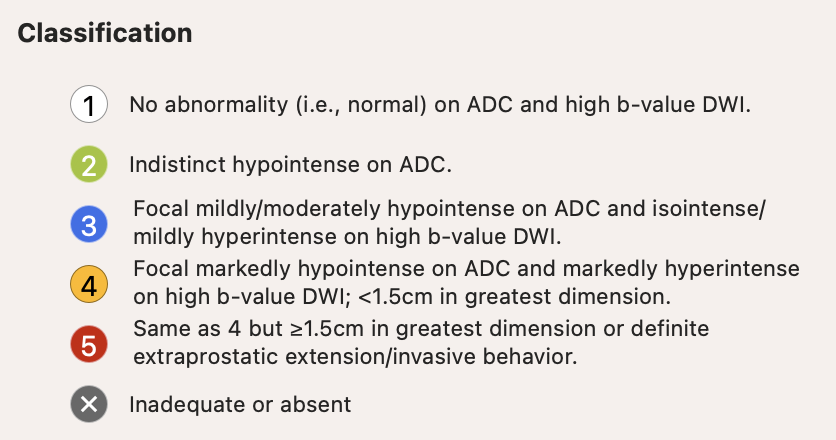
Score on DWI sequence has a 5 values scale, plus a "inadequate" or "absent" state (gray):
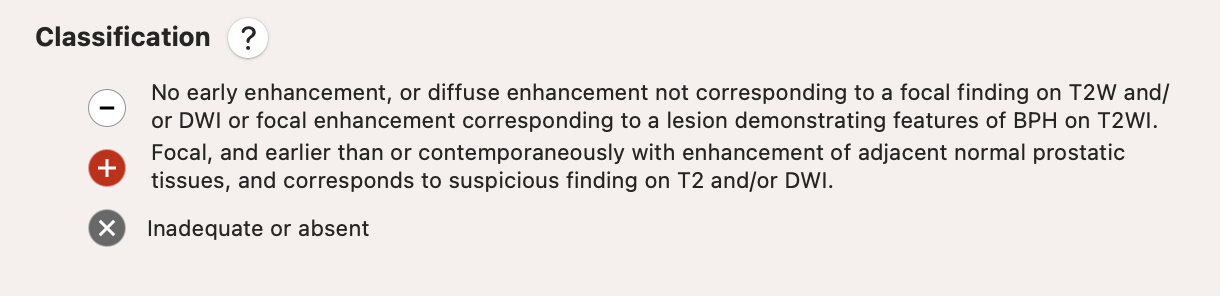
Score on DCE sequence has a 2 values scale, plus a "inadequate" or "absent" state (gray):
- The PI-RADS score will be computed as follow:
- For the Peripheral Zone (PZ), DWI is the primary determining sequence (dominant technique). PI-RADS score for a PZ lesion is based on DWI, unless the DWI score is PI-RADS 3. In this scenario, DCE is used to decide between PI-RADS 3 (no focal or early enhancement) or upgrade to PI-RADS 4 (focal and early enhancement present).
- For the Transition Zone (TZ), T2 is the primary determining sequence. PI-RADS score for a TZ lesion is based on T2, unless the T2 score is PI-RADS 3. In this scenario, DWI is used to decide between PI-RADS 3 (DWI score <5) or upgrade to PI-RADS 4 (DWI score 5).
Read this article for more information.
The auto-calculation of the PI-RADS can be switched off (in that case, PI-RADS score can be set manually as any other score).

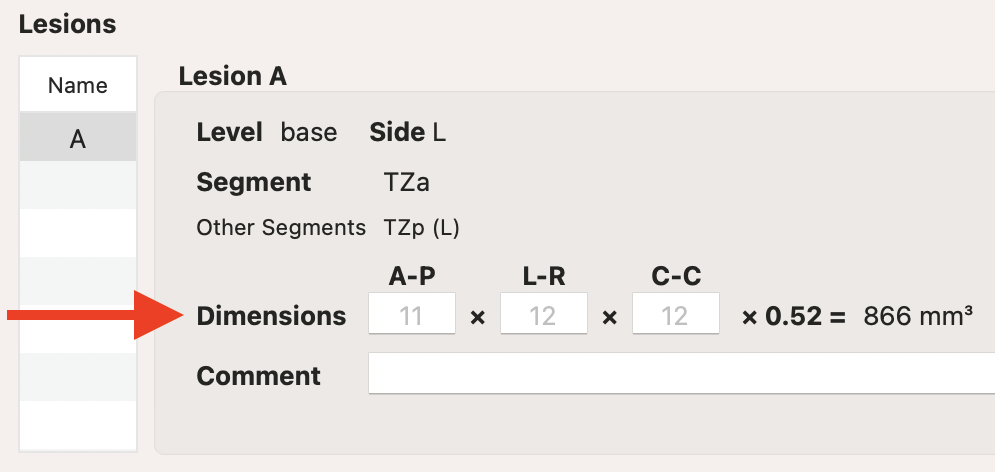
- The dimensions of a lesion can be manually entered in the Lesion detail view.
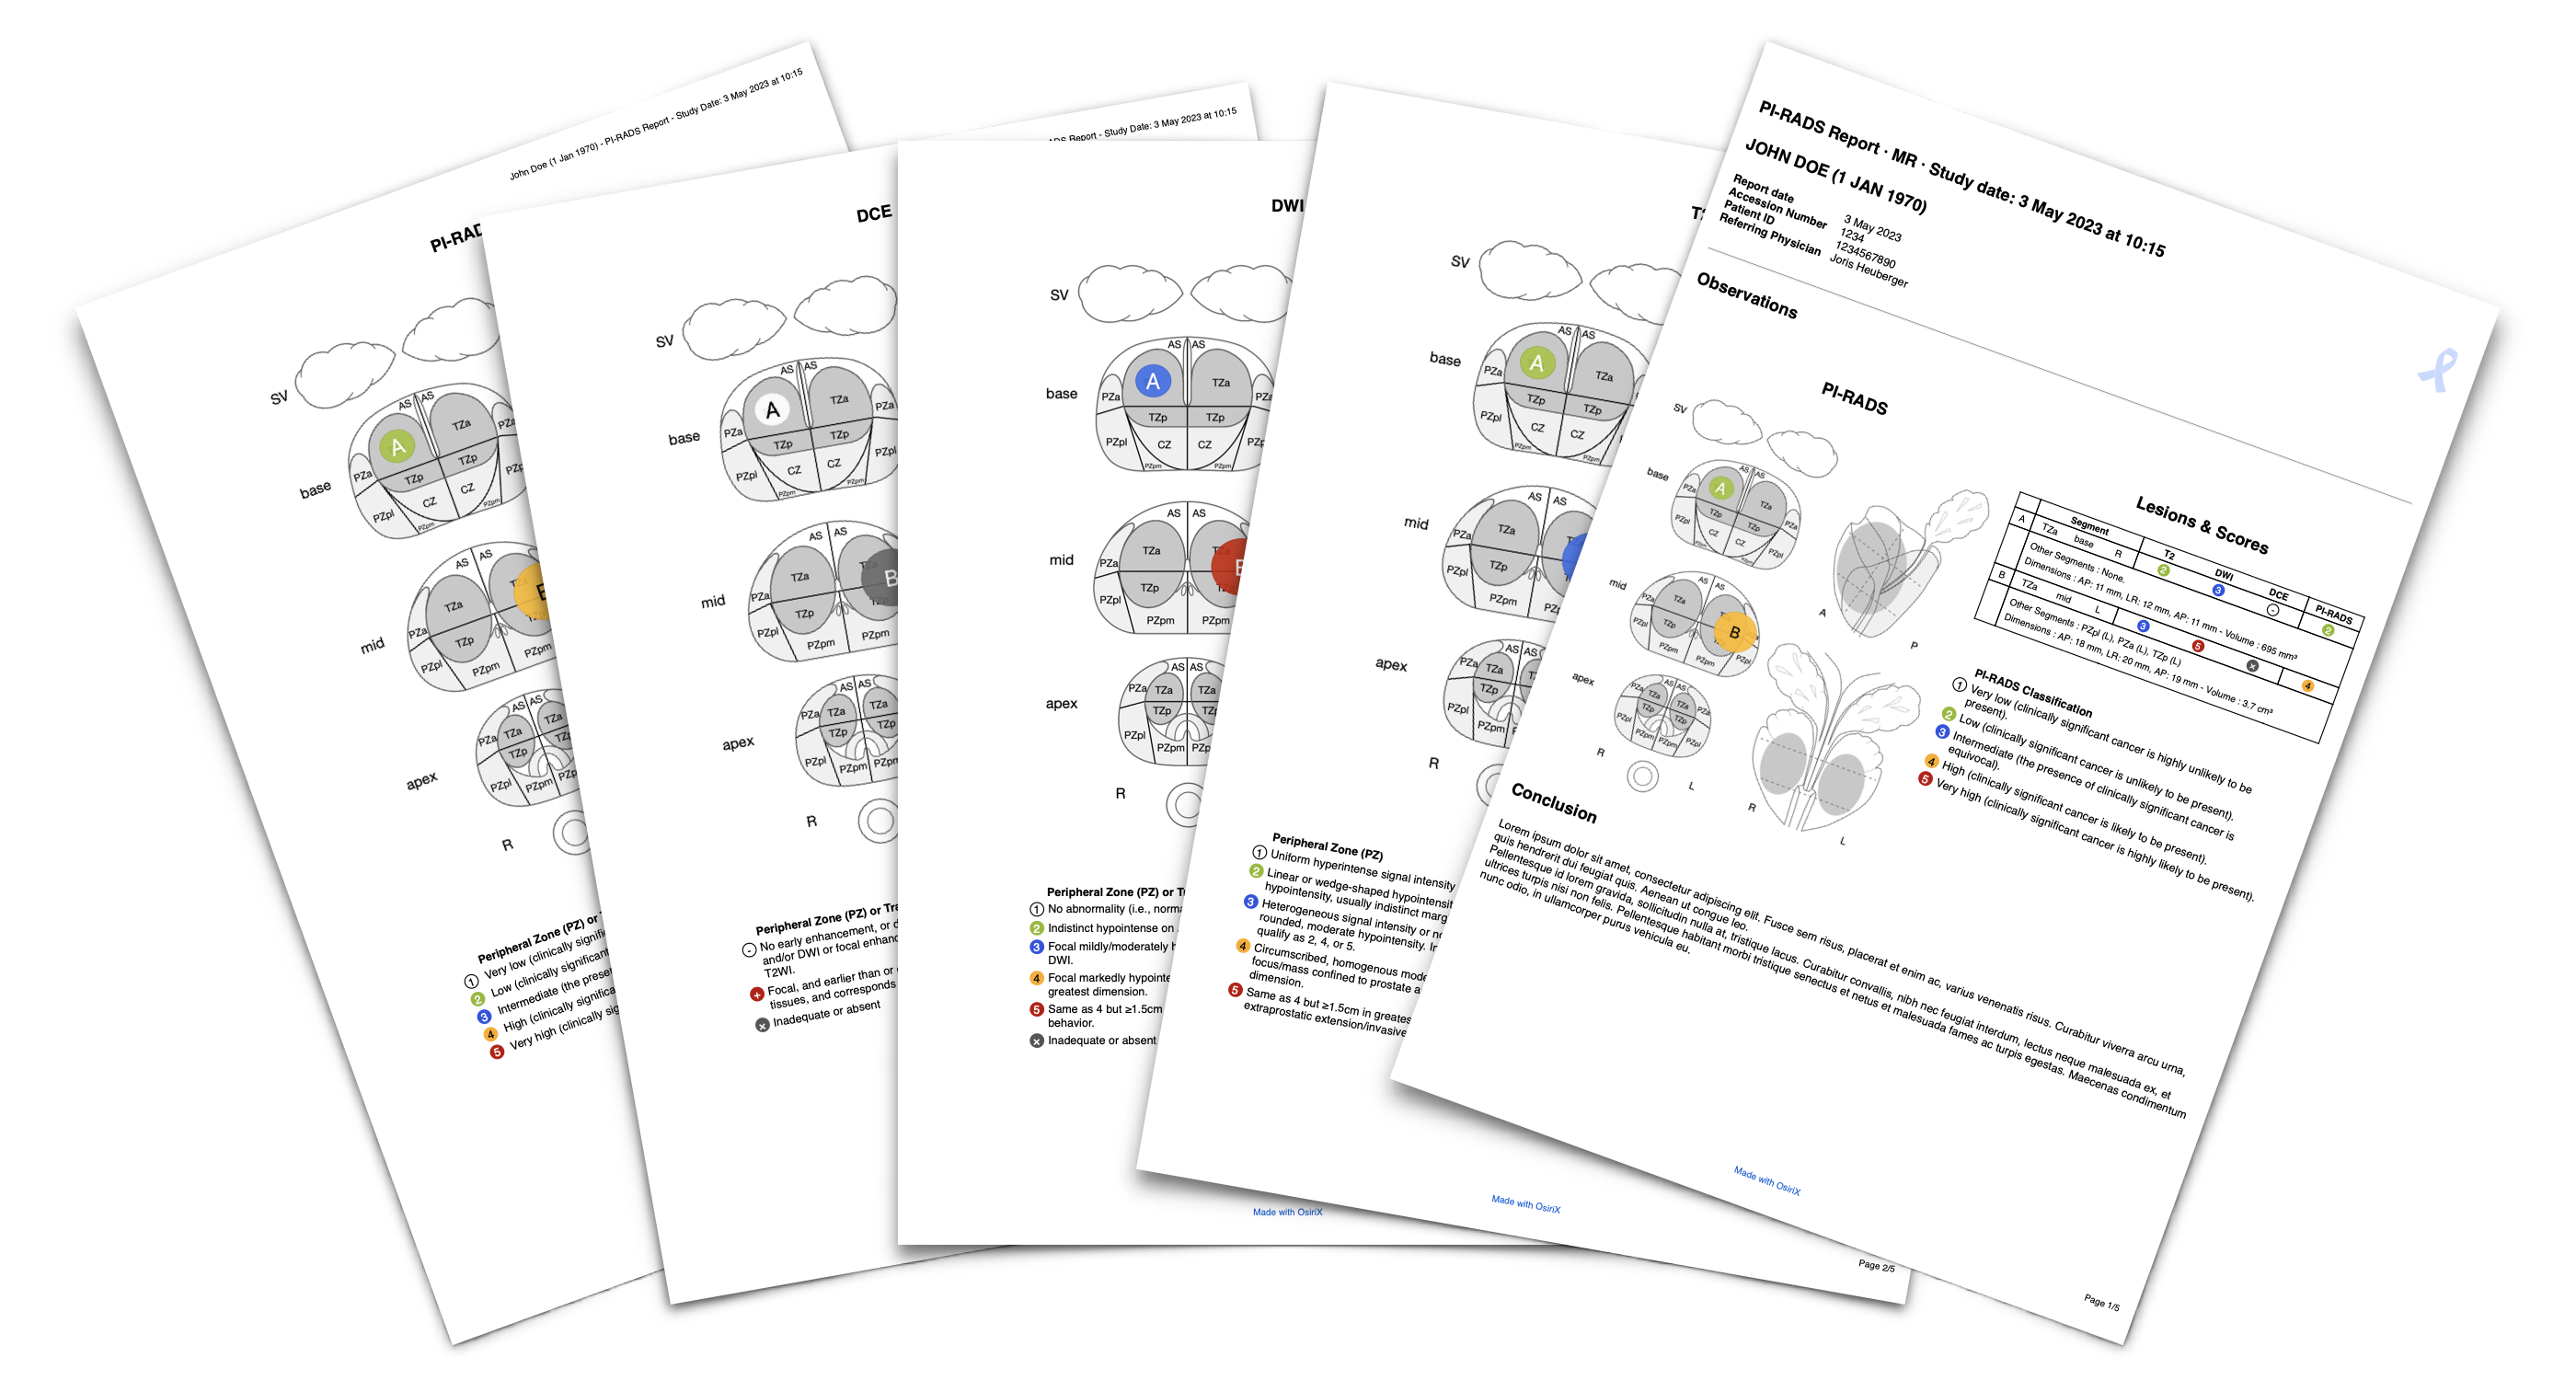
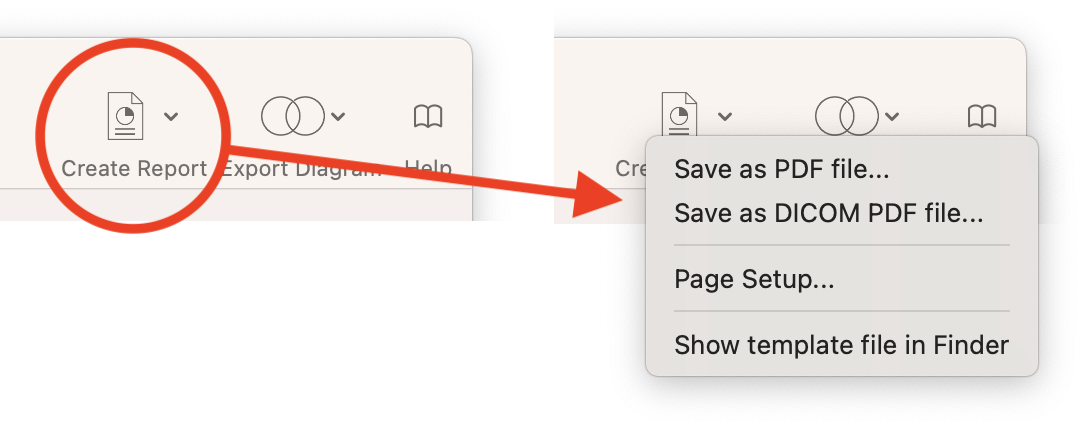
- To generate a report, click on the PDF Report (or DICOM PDF Report) button or on the Create Report button.

- The resulting report will look like this (click on the image to download the PDF report):