Spine Labeling Plugin User Manual
This user manual explains how to use the Spine Labeling Plugin for OsiriX MD.
- Open a cervical, thoracic or lumbar study (CT or MR).
- If the plugin was never used for this study, open at least a Coronal or Sagittal series.
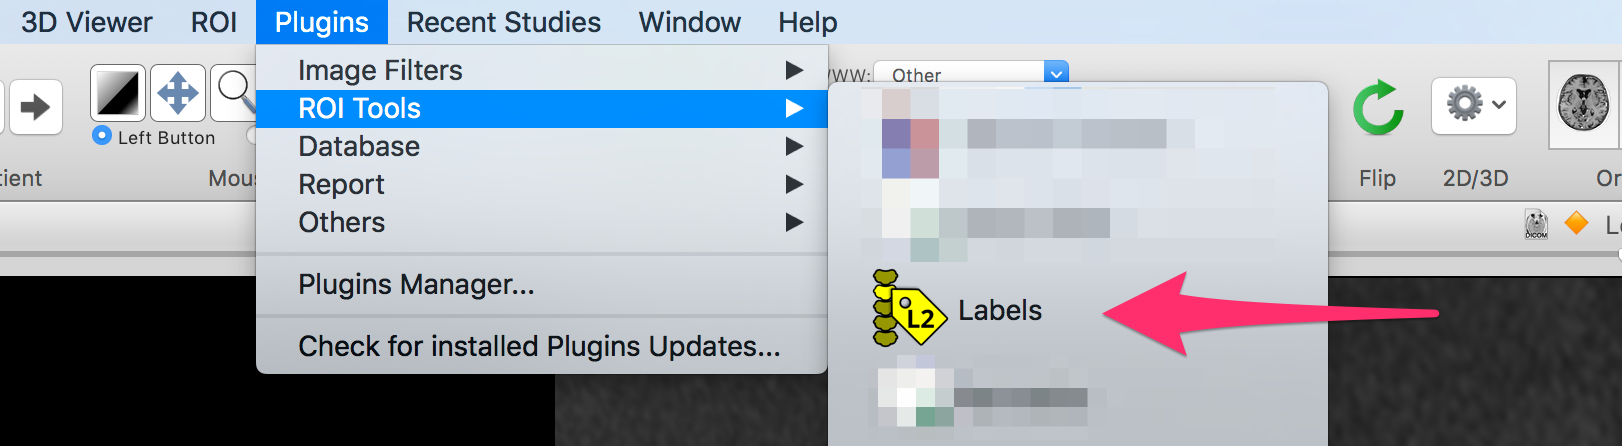
- Launch the plugin, located in the Plugins menu, in the ROI Tools submenu. You can also add an icon in the toolbar for a direct access.
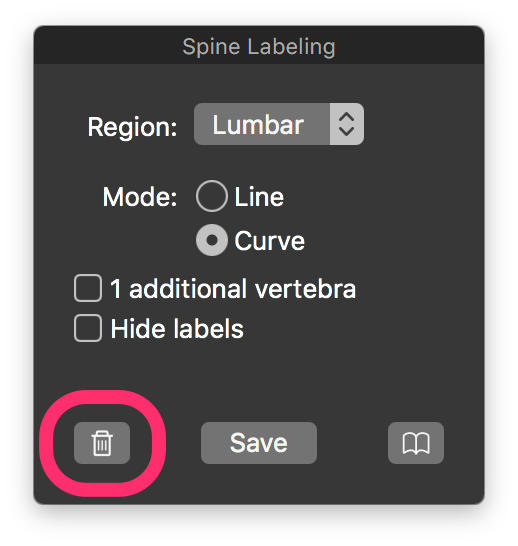
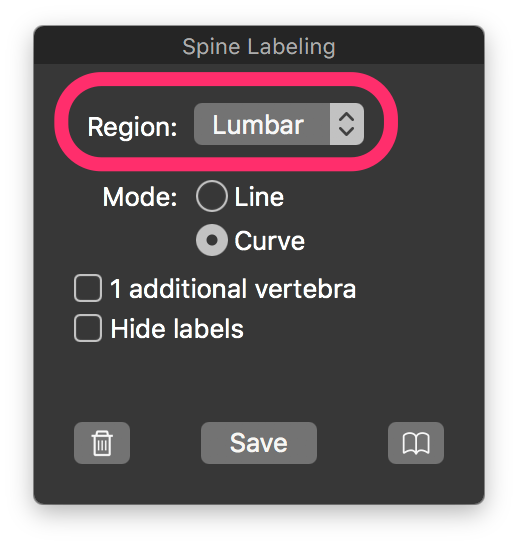
- In the floating panel, make sure that the selected region is correct.
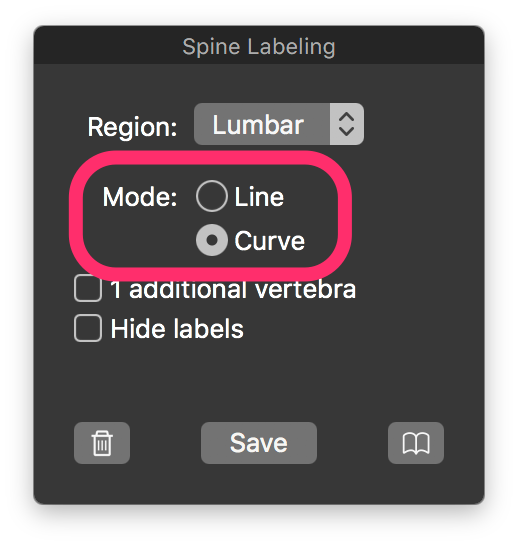
- In the floating panel, select your preferred drawing mode (line or curve).
- Draw an ROI in order to connect the 2 extreme intervertebral discs for the selected region.
For example, for a lumbar study, connect
L5-S1 toT12-L1 .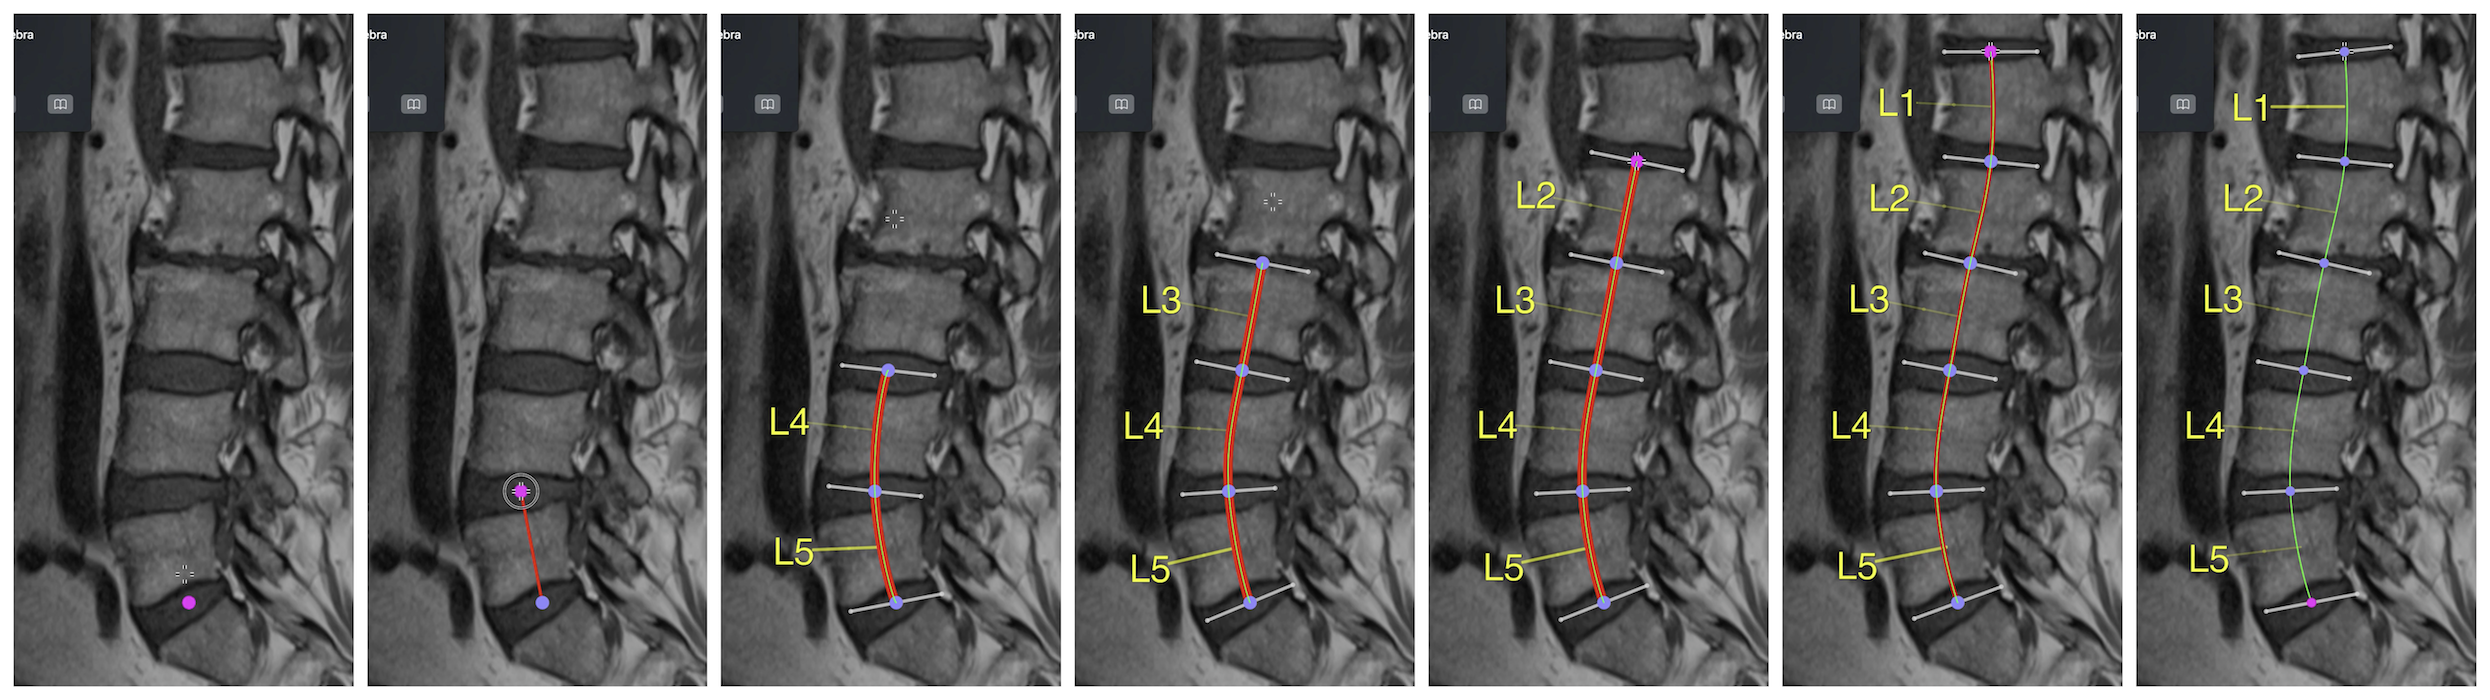
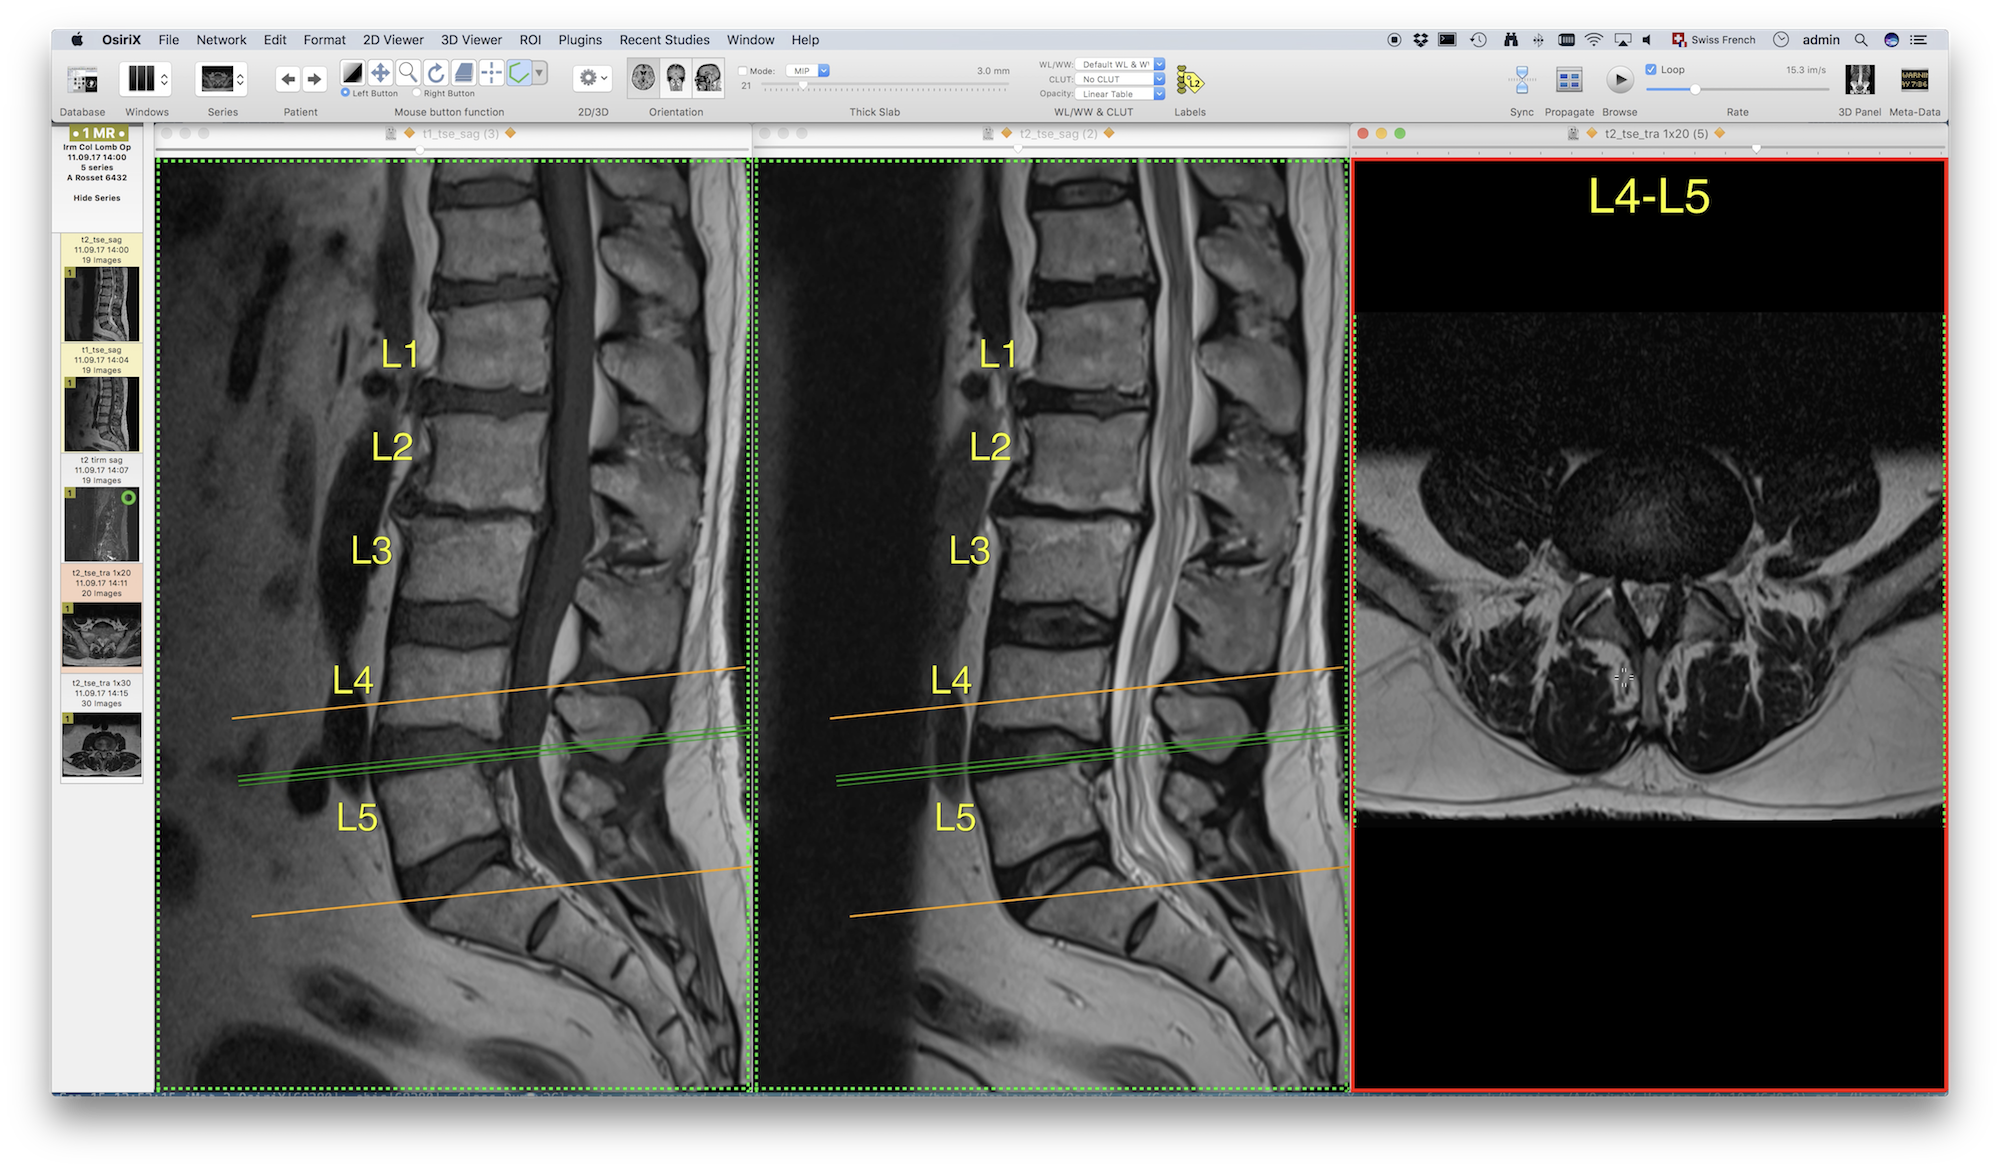
- When your ROI is done, the plugin will replace it with an open polygon ROI. Adjust this ROI in order to have each point located on the intervertebral discs. Orthogonal gray line represents the discs plane. You can also move the points to adjust those lines.
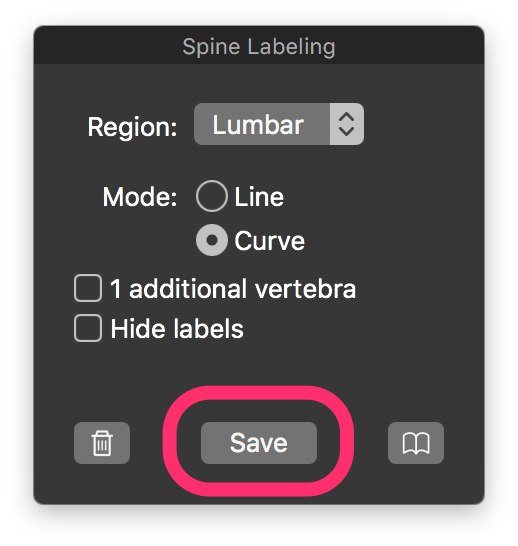
- Click the "Save" button when the result is satisfying.
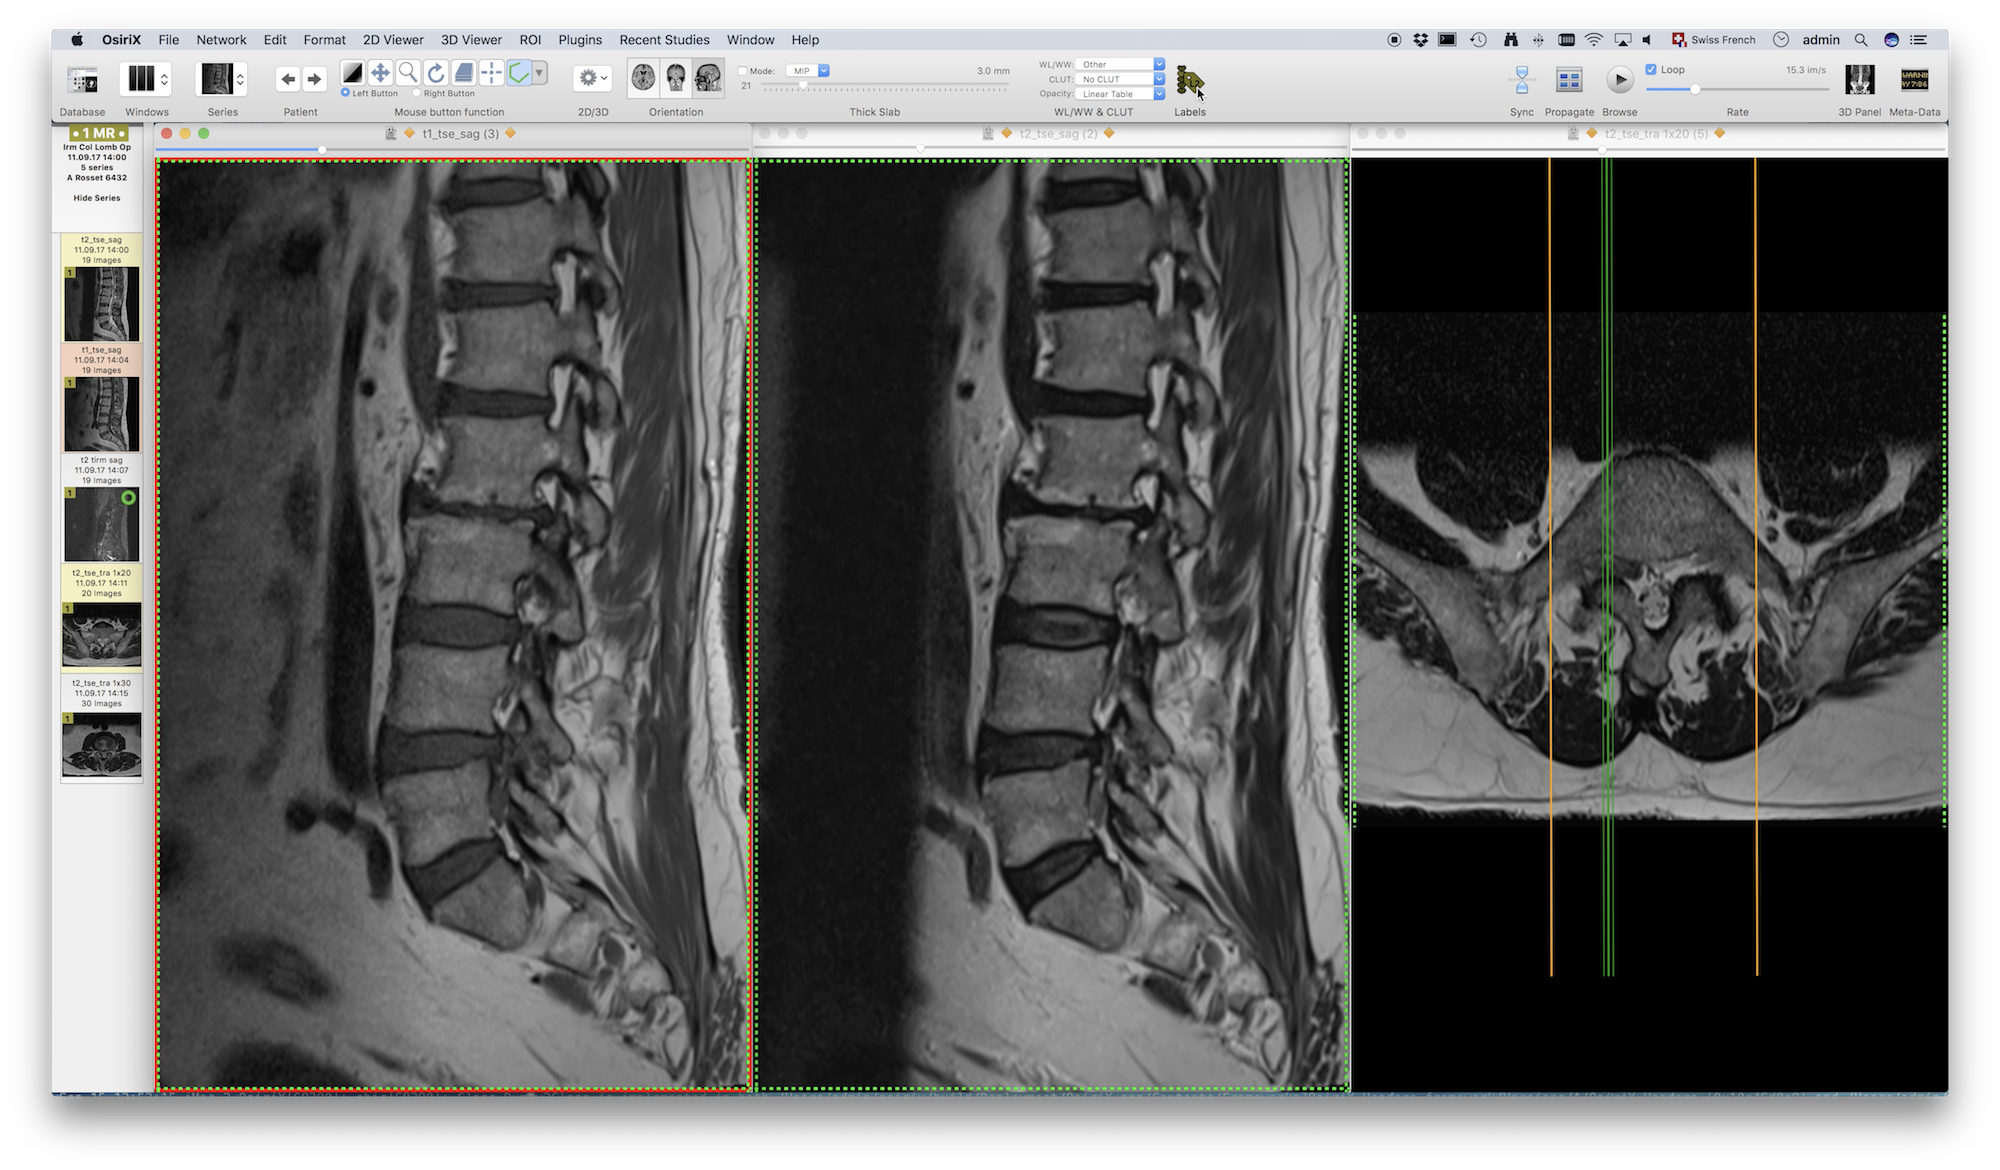
- Now every series of this study will display vertebrae labels.
- At any time, you can re-launch the plugin to edit the intervertebral planes.
- The "Reset" button (with the trash can icon) allows to restore a "blank" state and remove all labels.